Designed by: Abinisha
🧶 Materials
| Part | Yarn | Color | Type |
|---|---|---|---|
| Vase | Milk cotton | Half white / cream | DK Sports |
| Sunflower petals | Cotton | Yellow | DK weight |
| Sunflower center | Cotton | Brown | DK weight |
| Leaf & stem | Cotton | Green | DK weight |
Other Supplies:
- Crochet hook: 2.5 mm or size appropriate for yarn
- Yarn needle
- Scissors
- Stitch marker
- Fiberfill stuffing
- Floral rod 2.5 mm thickness
https://amzn.to/3U9AEkL Crochet Hook Needle Set
✨ Abbreviations (US Terms)
- sc – single crochet
- inc – increase (2 sc in same stitch)
- dec – decrease (sc 2 together)
- BLO – back loop only
- dc – double crochet
- hdc – half double crochet
- ch – chain
- sl st – slip stitch
- MR – magic ring
1. Soil (Make first – Brown cotton yarn)
R1: MR, 8 sc (8)
R2: inc x8 (16)
R3: (1 sc, inc) x8 (24)
Fasten off. Keep aside to attach later.
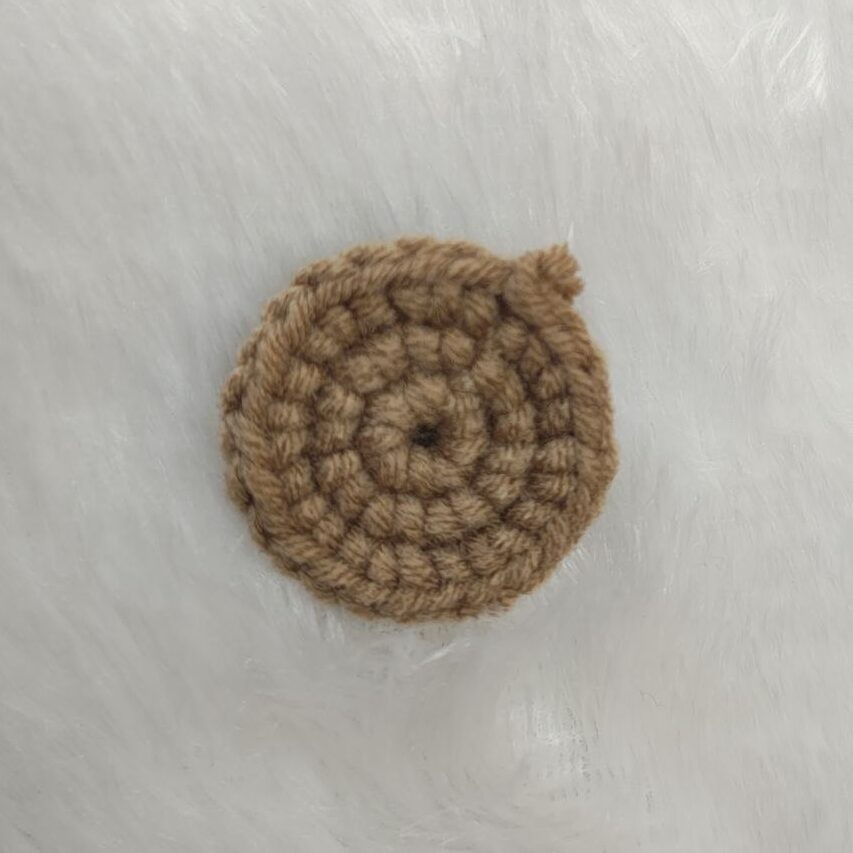
2. Vase (Half white milk cotton yarn)
Yarn: Milk cotton (half white)
R1: MR, 8 sc (8)
R2: inc x8 (16)
R3: (1 sc, inc) x8 (24)
R4: (2 sc, inc) x8 (32)
R5: (3 sc, inc) x8 (40)
R6: BLO 40 sc (40)
R7: (4 sc, inc) x8 (48)
R8–R17: 48 sc (10 rounds)
R18: (4 sc, dec) x8 (40)
After R18: Add Base Support
→ Cut a round cardboard piece (same size as vase bottom).
→ Insert flat into the bottom for strong base.
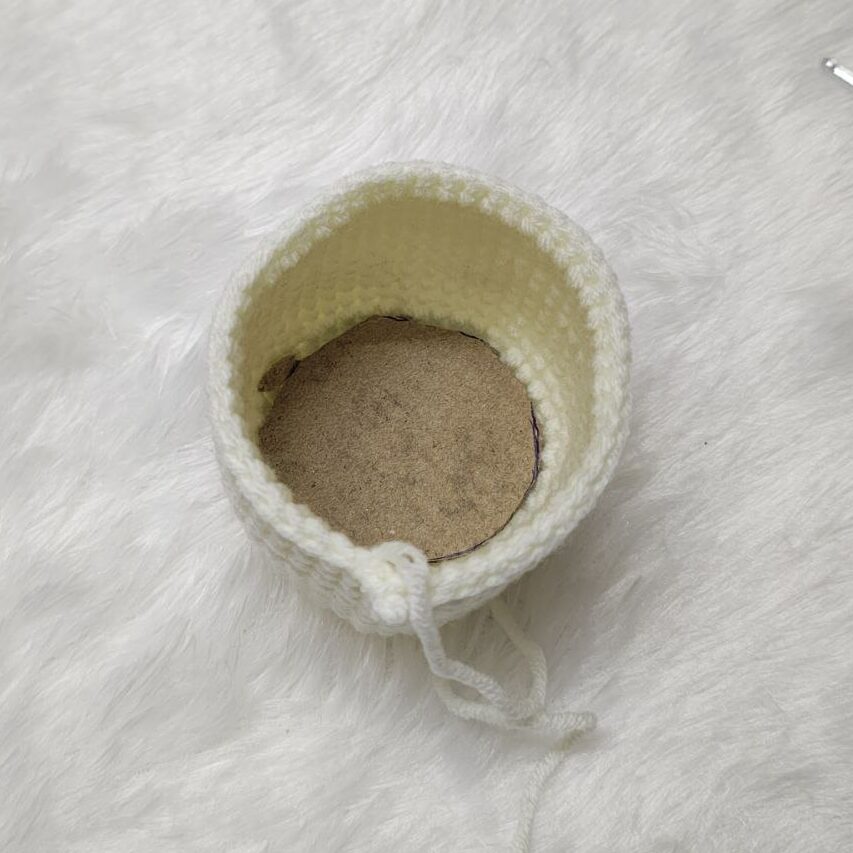
R19: 40 sc
R20: (3 sc, dec) x8 (32)
R21: 32 sc
R22: (2 sc, dec) x8 (24)
R23–R26: 24 sc (4 rounds)
STUFF: Now fill the vase with fiber stuffing to desired firmness.
R27: Take the brown soil piece you made earlier.
→ Crochet 24 sc through both the vase top & soil circle to attach. (24)
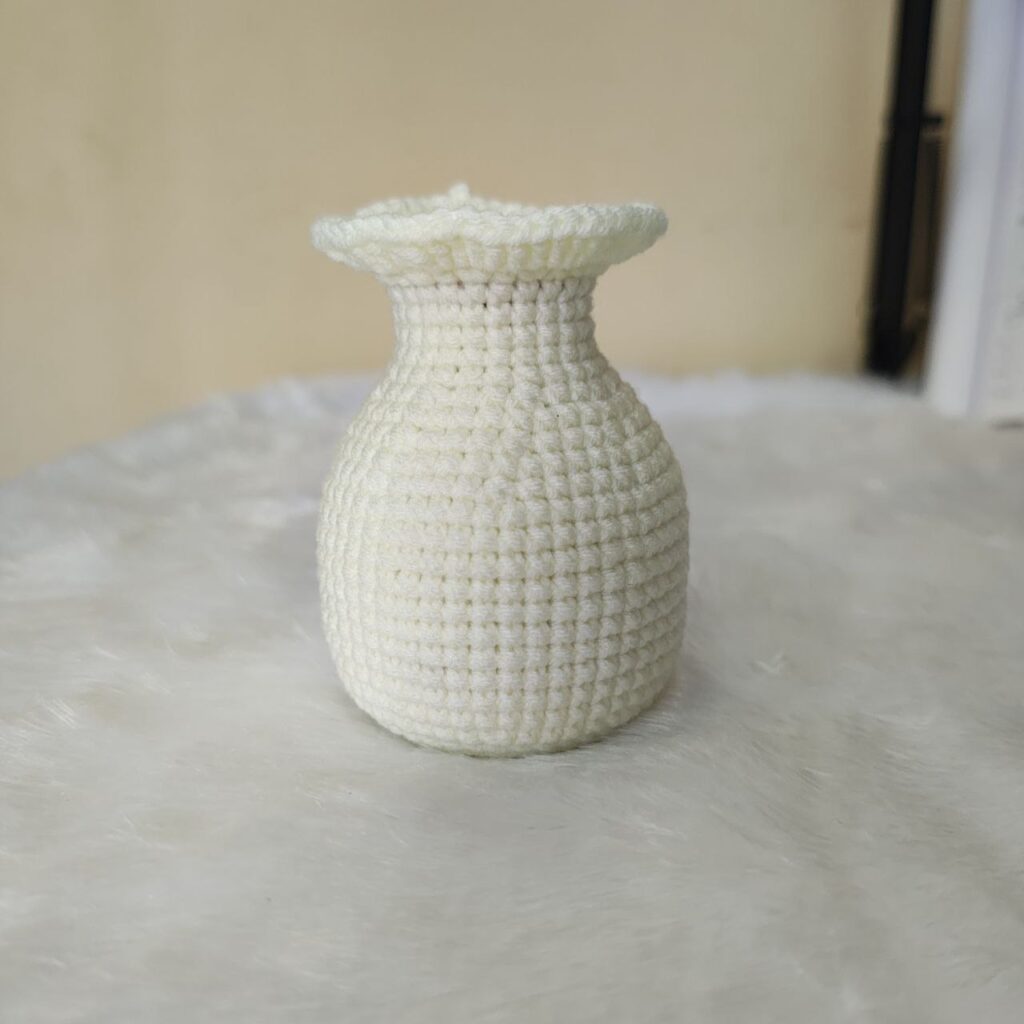
R28: (2 sc, inc) x8 (32)
R29: (1 dc, inc dc) x8 (40)
Fasten off and weave in ends.
Fasten off and weave in ends.
3. Sunflowers (Make 3)
Step 1: Make Two Center Circles
Make 1 with brown yarn:
R1: MR, 6 sc (6)
R2: inc x6 (12)
R3: (1 sc, inc) x6 (18)
R4: (2 sc, inc) x6 (24)
Fasten off.
Repeat the same pattern with green yarn.
Do not sew or stuff yet.
Step 2: Join Centers and Start Petals (Yellow Yarn)
- Place brown and green circles together (wrong sides facing).
- Join yellow yarn through both layers in any stitch.
- Begin making petals through both layers, so they are joined.
Petal pattern (make 8 petals first):
[ch 2, (1 dc, 1 tc, 1 dc) in same stitch, ch 2, sl st in next stitch]
→ Repeat 8 times.
Now you have 8 petals done and the circles are partly closed.
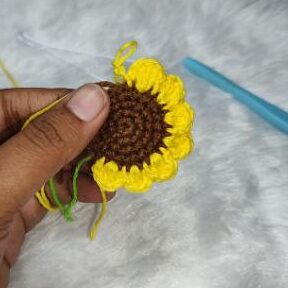
Step 3: Insert Wire Stem
- Cut 8-inch silver wire, fold it in half (4-inch stem).
- Tie green yarn tightly at the fold.
- Insert the folded end into the center back (green side).
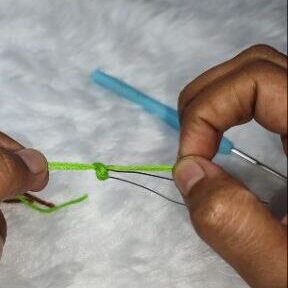
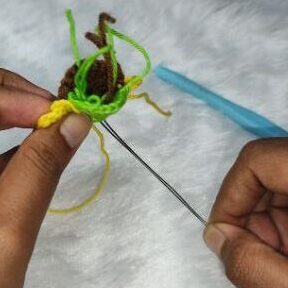
Step 4: Add Stuffing
- After inserting wire, add a little fiberfill stuffing inside.
- Continue petal work.
Now make petals 9 to 11.
- After the 11th petal, add more stuffing to fill it firmly.
- Then finish the 12th (last) petal.
This way, the flower is firm, neat, and closed fully
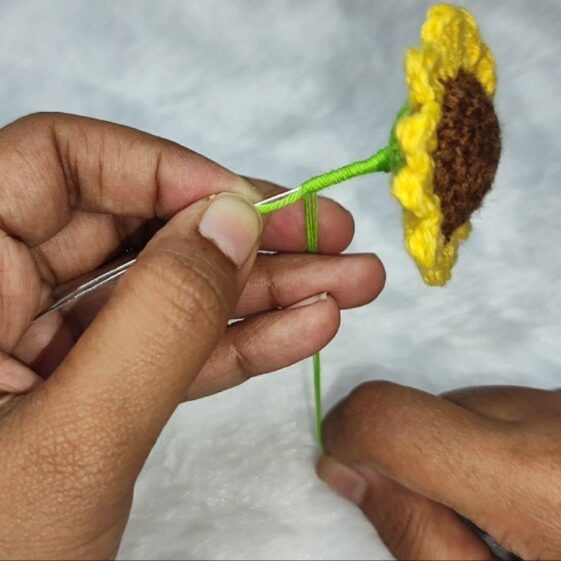
Step 5: Wrap Stem
- Using the green yarn tied at the stem base,
- Wrap the double wire tightly all the way down to cover it.
- Secure the yarn at the end with glue or a tight knot.
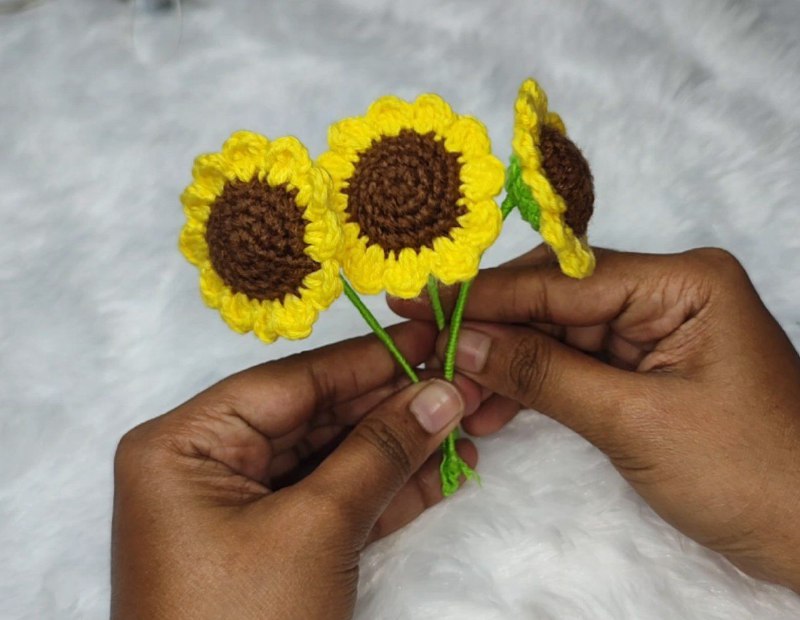
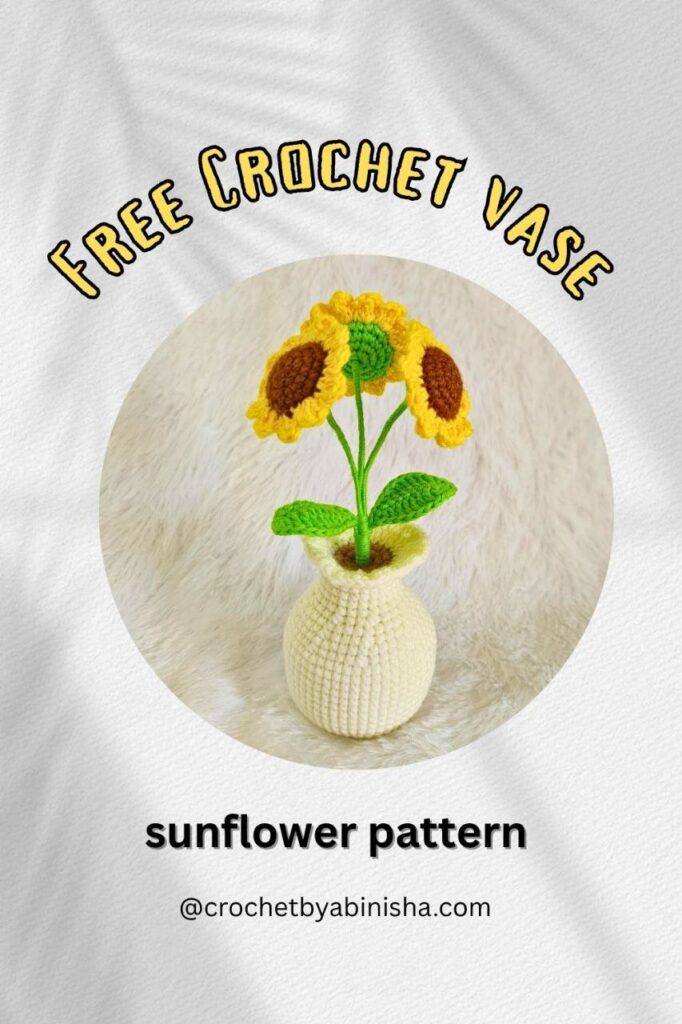
Your sunflower is now complete – realistic, firm, and well-shaped!
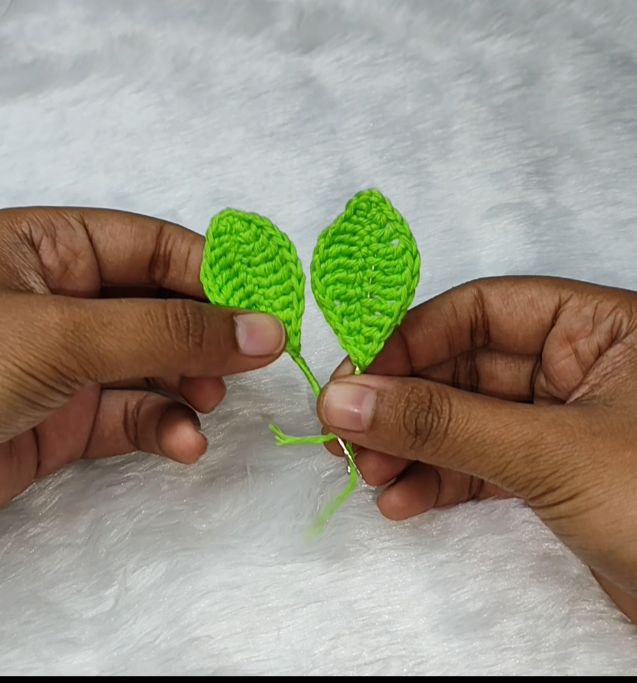
Leaf (Make 2 Leaves)
Yarn: Green cotton + silver floral wire
Make 2 leaves first.
- ch 12
- After chaining, insert floral wire along the chain gently.
(Push it through the stitches or place behind and crochet over it) - Now crochet across the chain with the wire inside:
- → sc, hdc, dc, tc x5, dc, hdc (you’ll be at the tip)
- In last stitch: 3 sc to curve around
- Continue on the other side of the chain:
- → hdc, dc, tc x5, dc, hdc, sc
- sl st to finish.
→ Cut yarn, weave in ends.
→ Shape the leaf as desired using the wire.
✅ Repeat this to make 2 leaves.
🧷 Final Flower Assembly & Vase Attachment
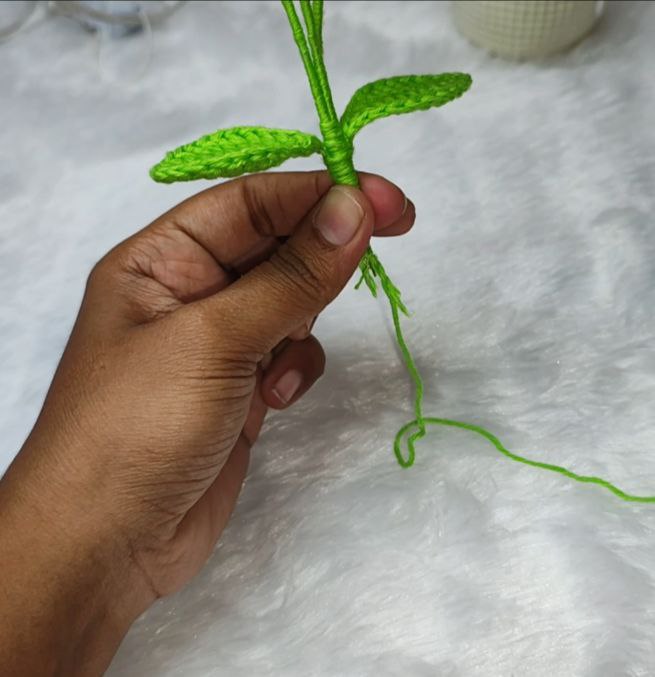
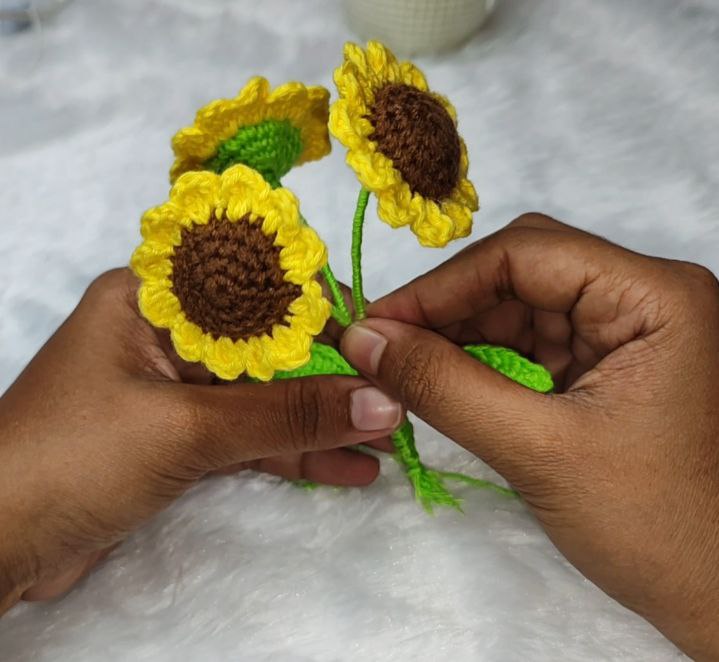
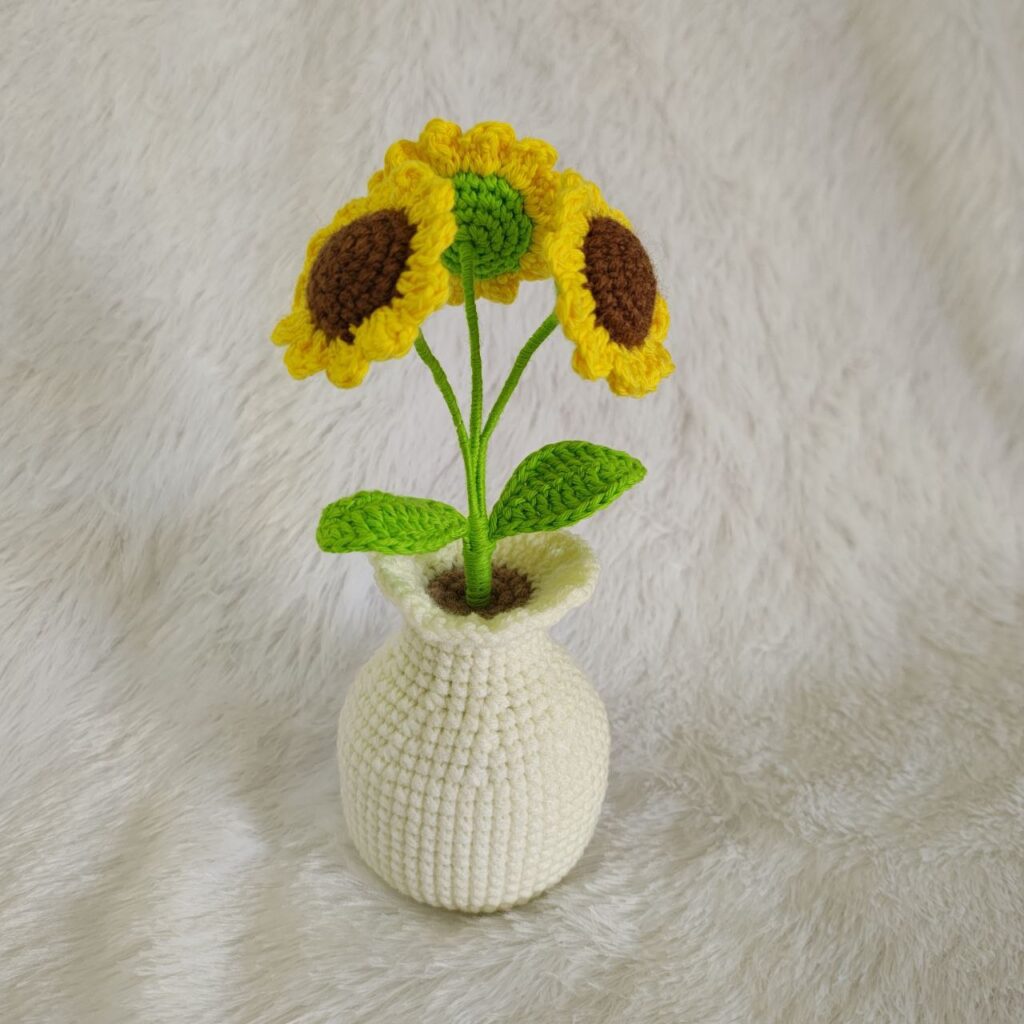
- After finishing 3 sunflowers (with wrapped green stems),
gather them together and tie them tightly as one bunch at the base using green yarn. - Take the 2 prepared leaves and attach them at the bottom of the flower bunch (just above the tie/knot) — one on each side.
- Wrap green yarn around the full lower stem and the attached leaves to create a smooth, clean look.
- Apply glue at the very end of the wrapped stem.
- Insert the full flower bunch securely into the vase (top center of the soil) and press gently so it sets firmly.
- Shape petals and leaves for final finishing.

Wow… Congratulations on launching your new website…
The instructions and pattern is so so clear..
Can’t wait to try it.. 😍😍😍
Thank you dear. If you try it, definitely share it! ❤️
Good heart to give this kind of pattern… Thankyou 🫶
Thank you dear, reading this comment makes me feel happy.❤️
Thank you for your pattern
It’s very useful
Easily understandable very clear😊😊😊
“Thank you dear. If you try it, definitely share it!”
Hi sis
Hello sis
Superb work dear. Its very usefully.
Thank you dear. If you try it, definitely share it! ❤️🎊
Superb tutorial so clear instructions given god bless you always. So easy to follow. Keep it up for your good work. Cant wait for the new project.
Thank you dear. If you try it, definitely share it! ❤️
Pingback: Reversible Amigurumi Doll Crochet Pattern | Bride & Bouquet
Pingback: Crochet Rose PoPattern Easy DIY Flower Pot for Beginners
Super
Thank you dear. ❤️