Hello, it’s me Abinisha!
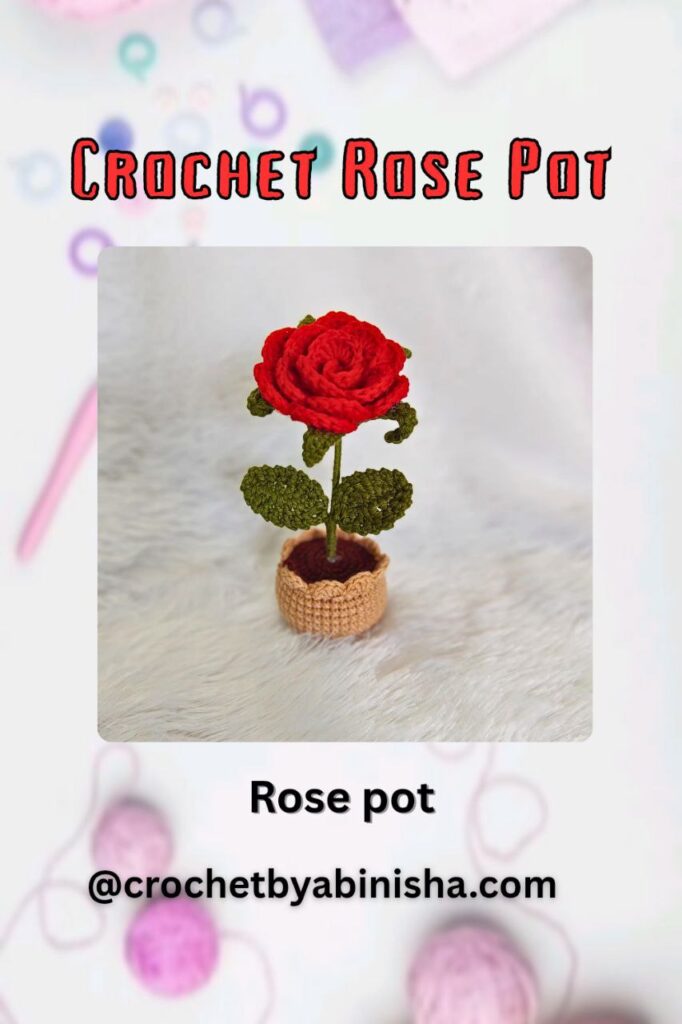
Today, I’ll show you how to crochet a beautiful rose in a pot using a simple, beginner-friendly method. 🌿🌸 Whether you’re making it as a gift, home decor, or just for fun, this rose pot adds a charming handmade touch to any space.
I used a mix of acrylic and cotton yarn for a soft yet structured finish. A flower rod and silver wire help keep the stem and leaves sturdy and poseable.
🧶 Materials Needed:
- Beige yarn (cotton or acrylic) – for the pot
- Brown yarn – for the soil
- Green cotton yarn – for stem and leaves
- Red cotton yarn – for the rose
- 2.5 mm crochet hook
- Fiberfill (stuffing)
- Flower rod
- Silver wire (for shaping leaves)
✨ Abbreviations:
- Mg – Magic ring
- Sc – Single crochet
- Dc – Double crochet
- BLO – Back loop only
- FLO – Front loop only
Step 1: Crochet the Pot
Let’s start with the base of the pot.
- Round 1: Mg, 8 sc (8). Sl st to first sc, ch 1
- Round 2: Inc in each stitch around (16). Sl st, ch 1
- Round 3: (Sc in next, inc) around (24). Sl st, ch 1
- Round 4: (Sc in next 2, inc) around (32). Sl st, ch 1
- Round 5: (Sc in next 3, inc) around (40). Sl st, ch 1
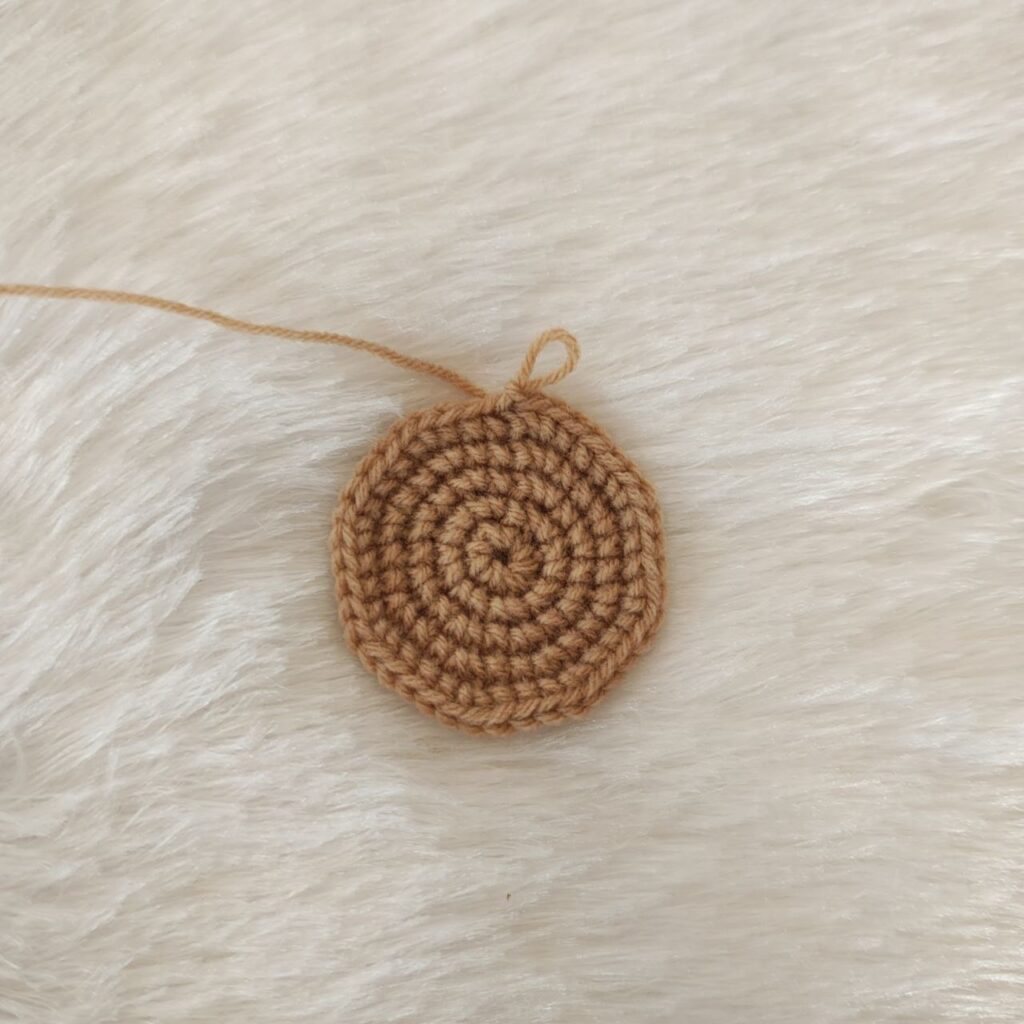
- Round 6: BLO – Sc around (40). Sl st, ch 1
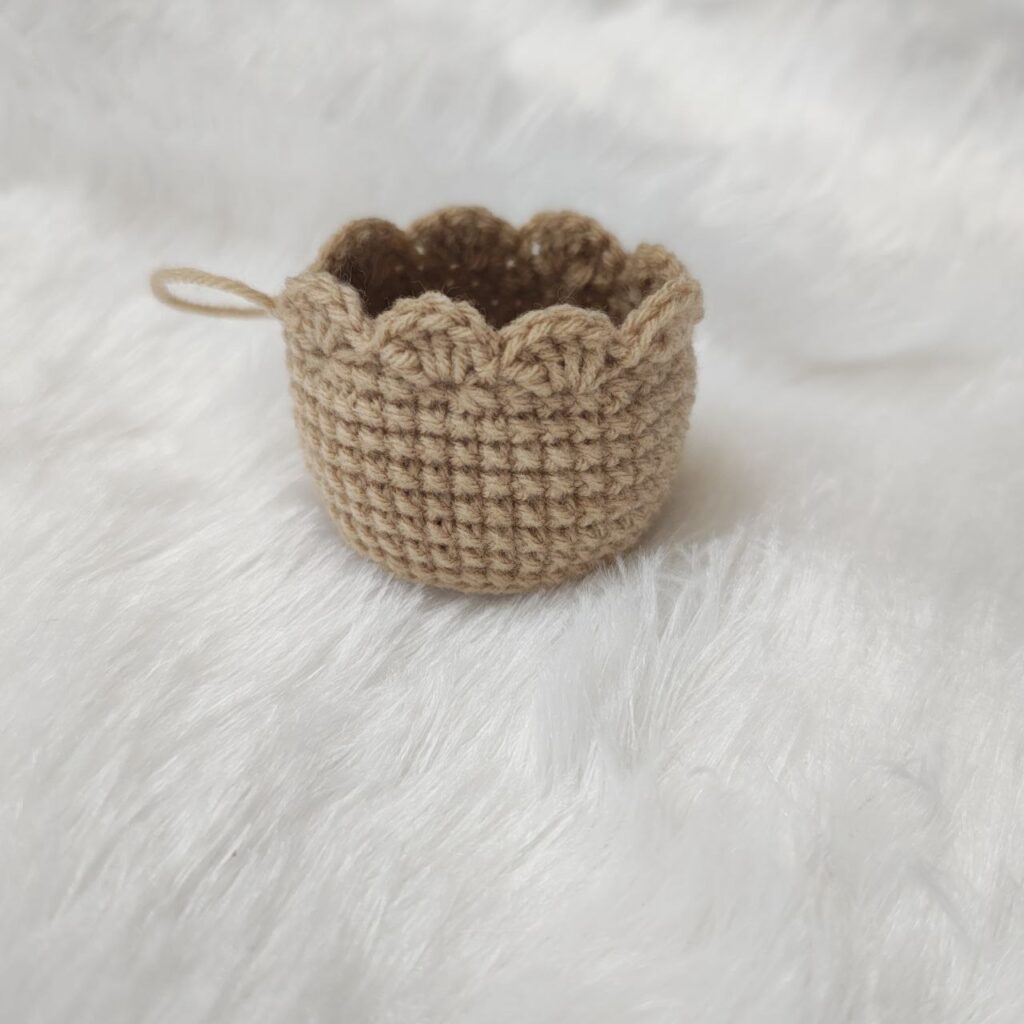
- Rounds 7–12: Sc in each stitch around (40). Sl st, ch 1
- Round 13: (Sc in next 3, dec) around (32). Sl st, ch 1
- Round 14: FLO – Skip 1 st, 4 dc in next st, ch 1, skip 1, sl st in next st. Repeat around.
➡️ Once you’ve finished the top edging, fasten off and weave in all ends.
🌱 Step 2: Crochet the Soil
Next, let’s make the soil that sits inside the pot.
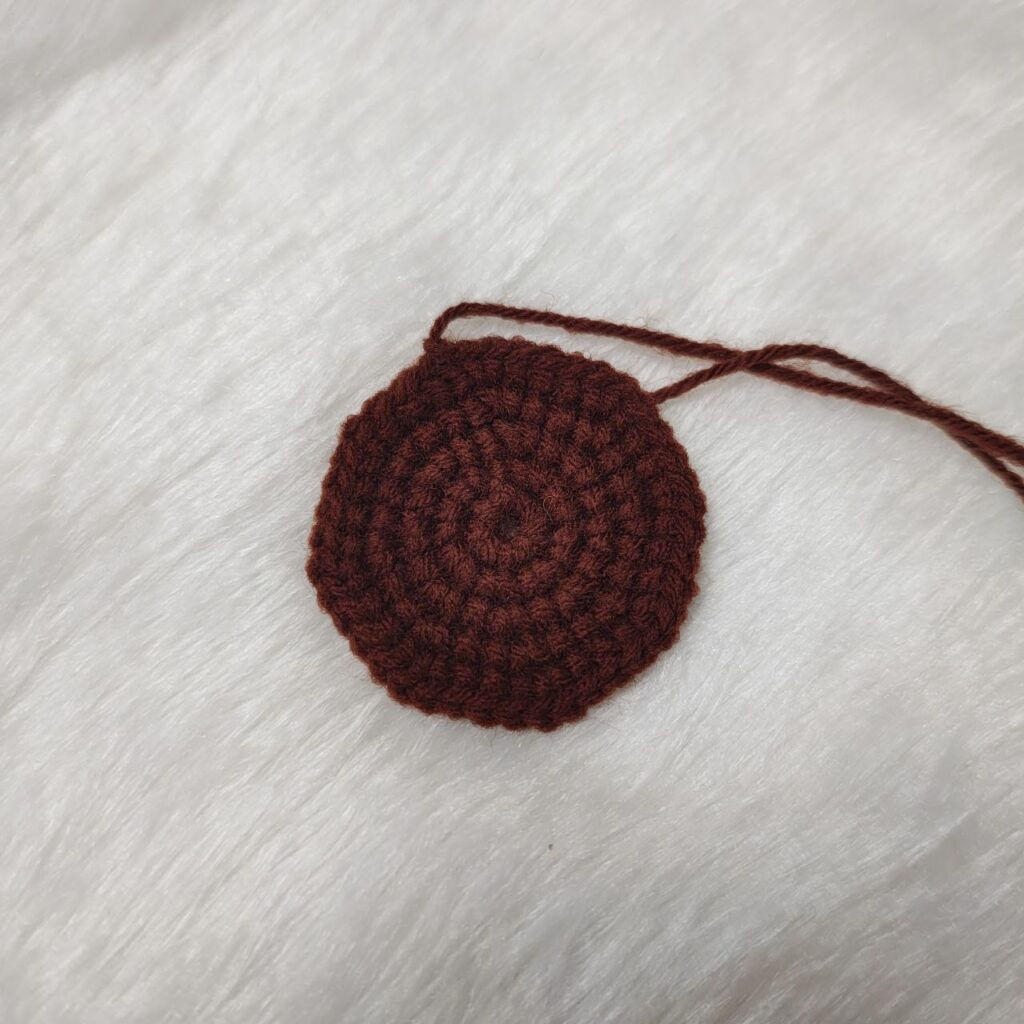
- Using brown yarn, repeat Rounds 1–5 from the pot instructions.
✅ Finish off. This will help support the stem later on.
🌹 Step 3: Crochet the Rose Flower
Now it’s time to make the rose!
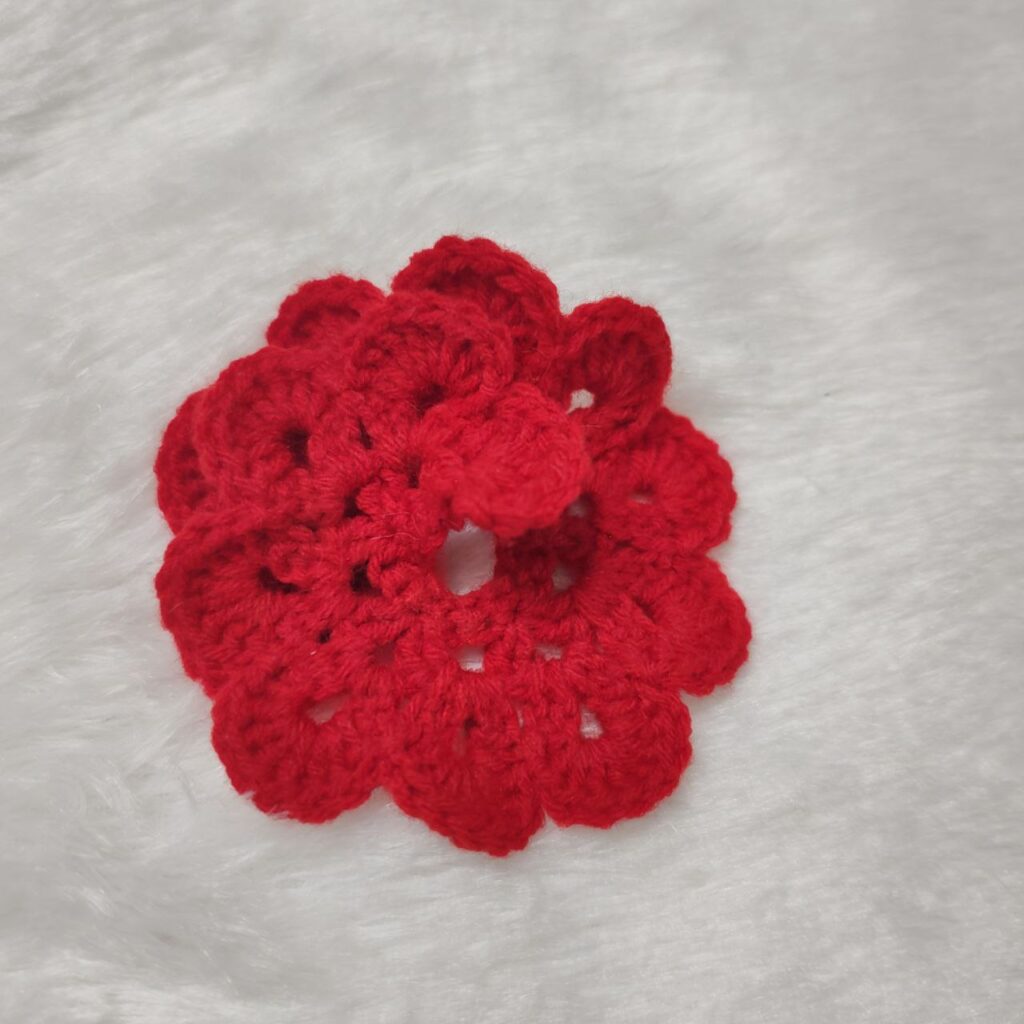
- Round 1: Chain 23. Starting in the second chain from the hook, work 22 sc.
- Round 2: Turn. Ch 5, dc in the same stitch.
Then: [Skip 2 stitches, (dc, ch 2, dc) in next stitch]. Repeat 12 times. Dc in the last stitch. - Round 3: Ch 3, dc in same stitch, ch 2, 2 dc in same stitch.
Next: [Skip 2 stitches, (2 dc, ch 2, 2 dc) in next stitch]. Repeat 12 times. - Round 4: Ch 3. Then (8 dc, sl st) in each petal space 12 times. End with 13 dc in the last petal.
🌟 At this point, your rose should have a beautiful spiral bloom shape.
Step 4: Make the Flower Base
To support the rose, we’ll now crochet the base.
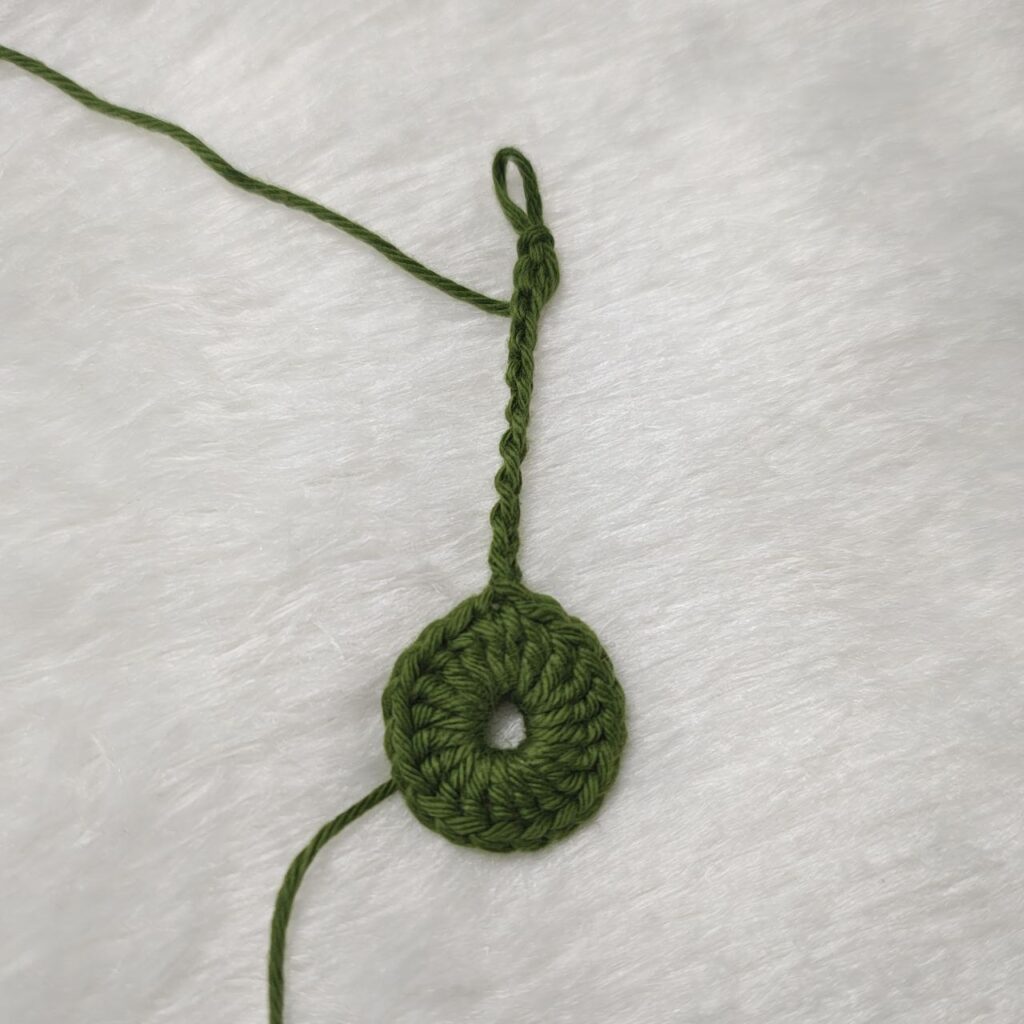
- Round 1: Start with a magic ring. Ch 2 (counts as dc), then work 19 more dc (20 total). Sl st to join.
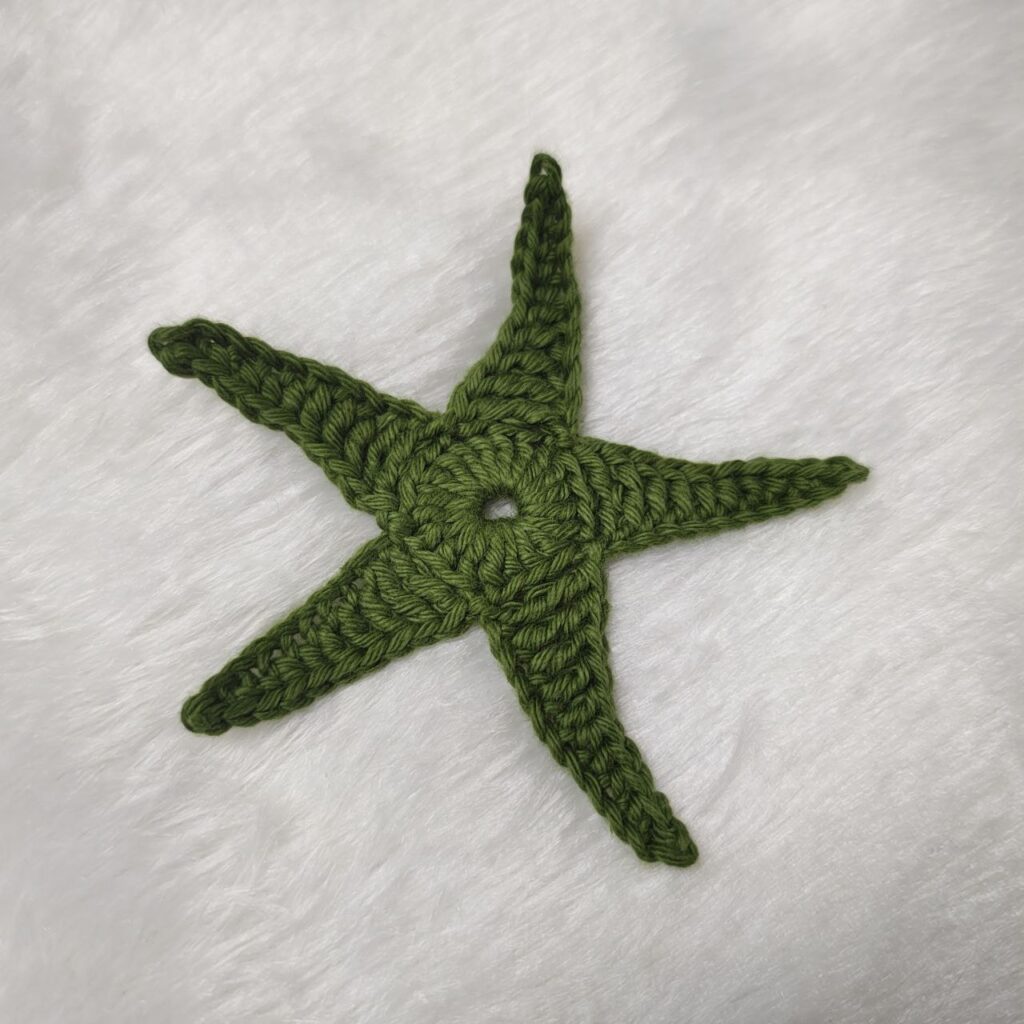
- Round 2: Ch 11, sl st in 2nd ch from hook, 2 sc, 2 hdc, 3 dc, 2 tr.
Skip 3 stitches on the base, then repeat this 5 times total.
💡 This gives your rose base some decorative leafy curls.
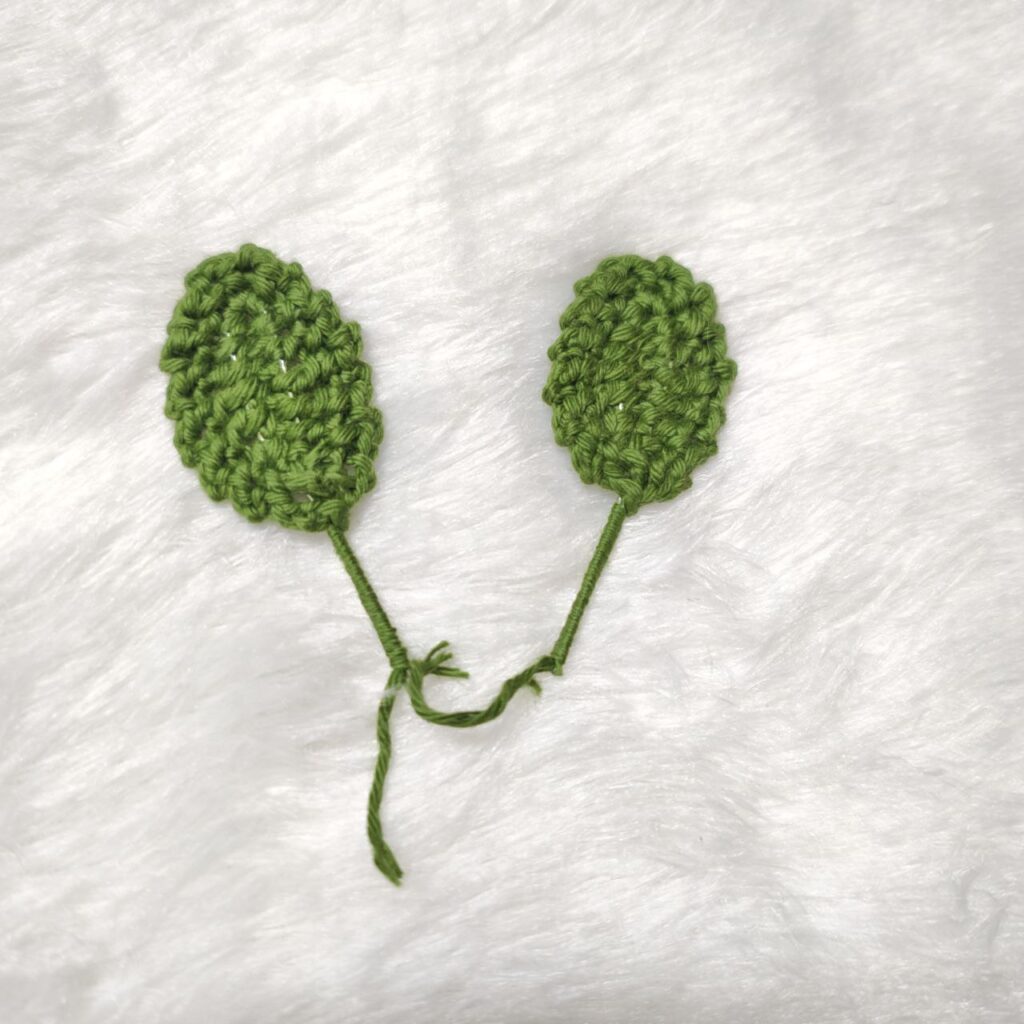
🍃 🍃 Step 5: Crochet the Leaves (Make 2)
Let’s make the poseable leaves to complete your rose.
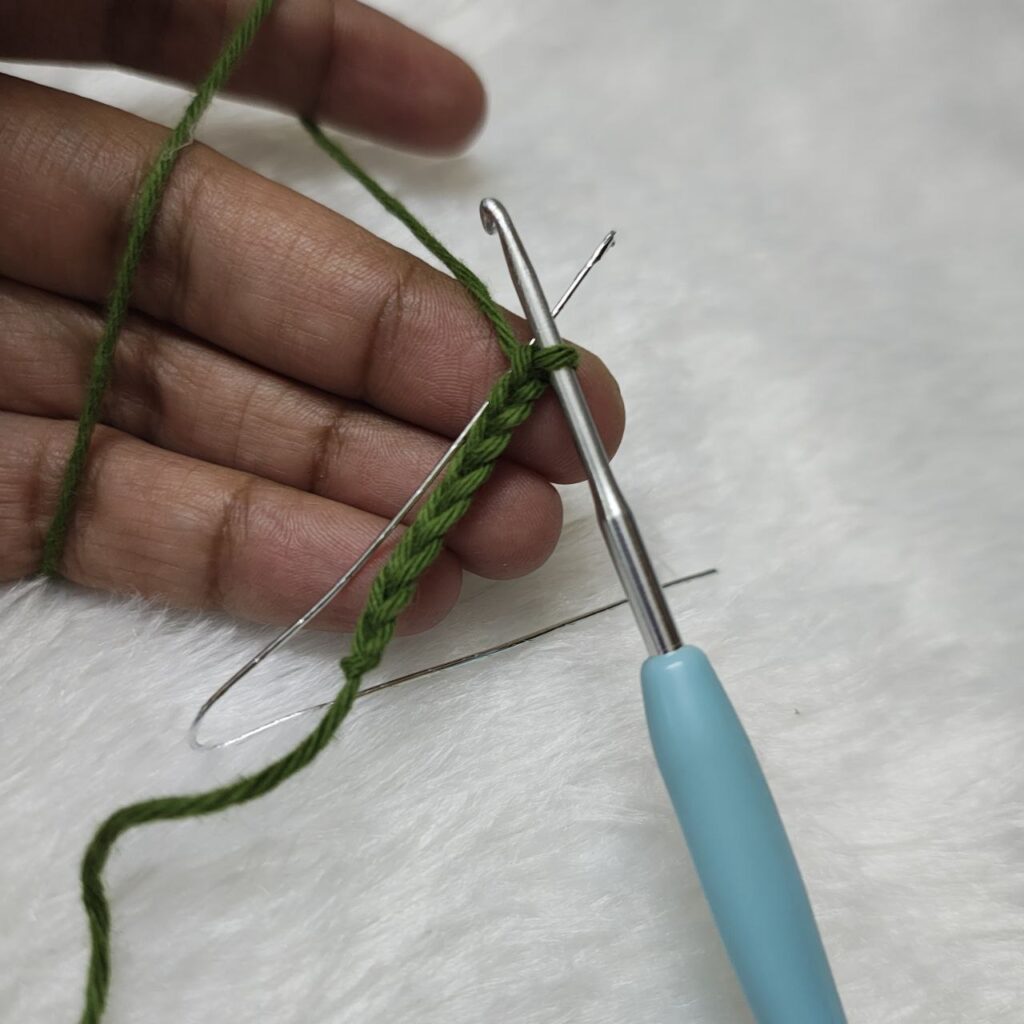
- Step 1: Start with a slipknot, then ch 8
- Step 2: Insert the silver wire now — gently slide it through the foundation chain
This gives structure to your leaf while allowing you to shape it later. - Step 3: Work the first side of the leaf:
- Sc in 2nd ch from hook
- Hdc in next
- Dc in next two chains
- Hdc in next
- Work 3 sc in the last chain
- Step 4: Continue on the other side of the chain:
- Hdc, dc in next two, hdc, sc, then sl st to complete the shape
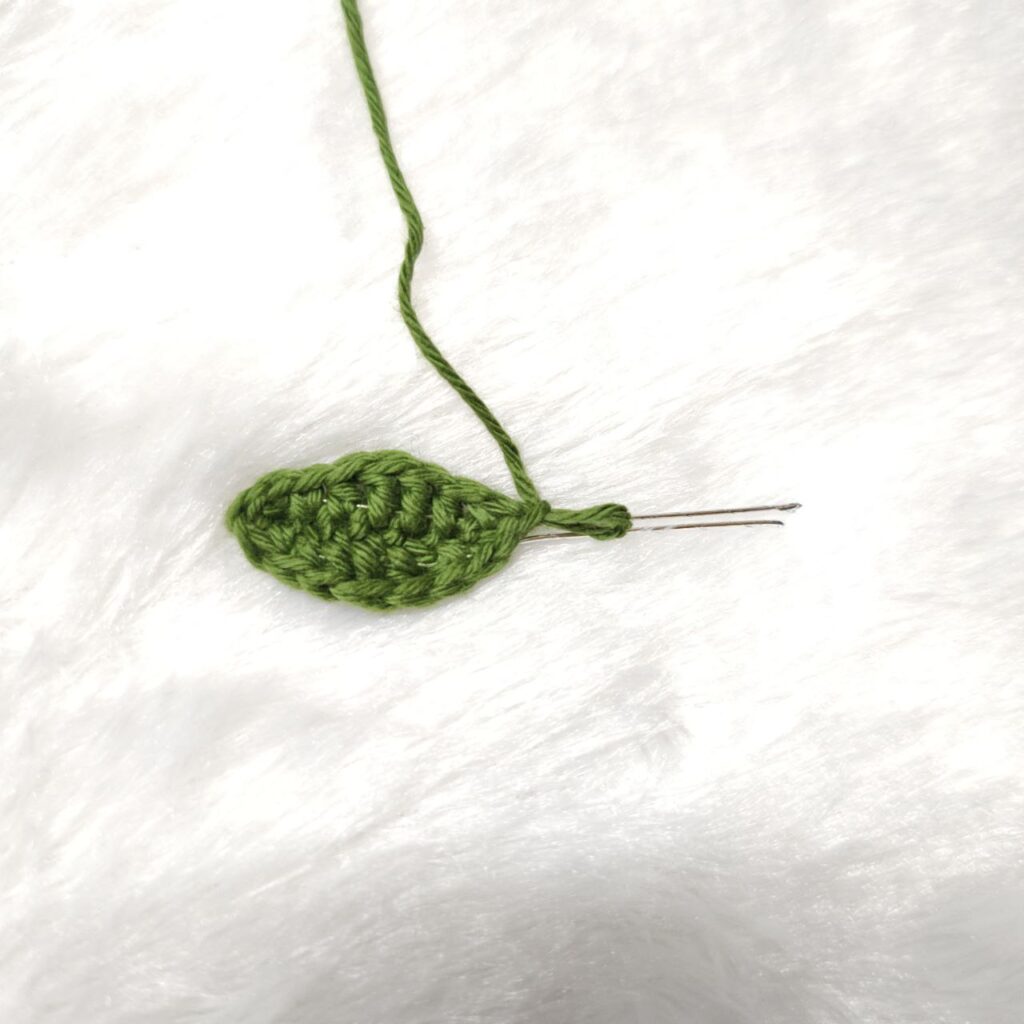
- Step 5: For the border, ch 2, then sc in each stitch around the entire leaf
This adds a clean, slightly ruffled edge and secures the wire inside.
🧷 Finally, twist the two ends of the silver wire together to form a poseable stem. Shape the leaf naturally by bending it slightly.
🧵 Step 6: Assemble Your Crochet Flower Pot
Now that all the pieces are ready, let’s bring them together.
- Prepare the Pot Base:
First, cut a round piece of cardboard to fit the bottom of your pot. This adds support and helps it stand upright. - Add Fiberfill:
Next, place the cardboard inside and lightly stuff the pot with fiberfill to give it shape. - Insert the Soil:
Then, position the crocheted soil piece on top of the fiberfill. Adjust it so it fits snugly. You can sew or glue it down for extra stability. - Insert the Rose Stem:
After that, push the flower rod through the center of the soil and down into the fiberfill. Make sure it’s upright and secure—add glue at the base if needed. - Attach the Rose Flower:
Now, sew or glue the rose head to the top of the stem carefully. - Add the Leaves:
Finally, wrap the leaves around the stem where you want them. Twist gently or sew in place. Then shape the leaves to make them look natural. - Finishing Touches:
To complete your project, fluff the rose petals and adjust the leaves. Optionally, you can decorate the pot with a ribbon or tag for a charming look.
🎉 And You’re Done!
Congratulations! Your crochet rose pot is now complete and ready to display or gift. Whether it’s for a friend or a beautiful handmade decoration for your space, it’s sure to bring smiles. 🌹💕
💕 Loved this project? Check out my other crochet patterns:
📸 Let’s Connect on Instagram!
I’d love to see your version!
Tag me on Instagram 👉 @https://www.instagram.com/abinisha_yarn.boutique/

Pingback: Crochet a Cute Amigurumi Rabbit Keychain – Free Pattern